 Xavier Capdepon has been producing music for almost 5 years now, so he has had to learn the vocabulary to improve his discussion quality with other producers and more importantly improve his own production abilities. As a music producer, it is vital to know the vocabulary that the best in the business use. Below are some essential music production vocabulary that all music producers should know.
- Fade in/Fade out – This term refers the the increasing or decreasing of the volume on an audio clip. This typically occurs at the beginning or end of audio clips, as most music software allows you to automate fades at the beginning or end of audio clips. This allows for a smother transition between your audio clips.
- Compressor/Limiter – These are standard music production audio effects that allow the producer to control the dynamics (intense swings in volume) of their audio recording or musical performance. A limiter is set in place to limit certain volumes of sound. A compressor is closely related to a limiter, but there are options to make the volumes coincide with other track volumes.
- Reverb – A reverb is a popular audio effect that are added to audio tracks to simulate sound bouncing off the walls in a small room. This is a way to increase the space of a particular sound and keep it from sounding too flat. A reverb is defined as amount of time it takes an audio signal to bounce off of a wall (or something else) and return to the listeners eardrums.
- EQ (equalization) – Different sounds have different frequencies. For example, bass sounds have lower frequencies, and melody sounds tend to have higer frequencies. EQing adjusts the amplitude of audio signals at particular frequencies, and producers use this to get rid of certain unwanted frequencies on various sounds.
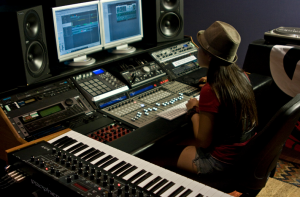
- Mixing – mixing is used to distinguish each sound on a different track. A mixing console is used to mix sounds of various microphones that you would have set up in a studio. Producers want to have audio coming from multiples sources so they can mix them together and make them sound clear. The different channel strips assigned to the various microphones allow the producer to arrange the volume and tone of each channel.
To read more about how Xavier Capdepon sets up his production schedule, read more on his last blog post here.
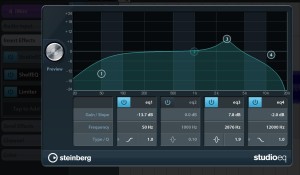 Emphasize What Matters: Open up your equalizer and figure out where the meat of each sound sits. You’ll notice that your sub-bass peaks at the very low end of the spectrum so any high end frequencies you let through are not serving a useful purpose. In fact, they’re just taking up space and competing with your other sounds. Similarly, any low frequencies you let through from your hi-hat track are just going to interfere with your lower sounds, resulting in a muddy mix. Go one by one through your tracks and carve out unnecessary frequencies to give each track its own space to shine.